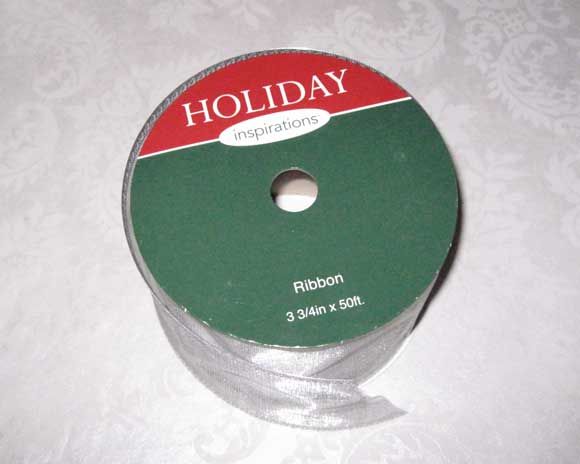
When I was young I had a job with a department store working in their display department. It was a stepping stone to bigger and better things but the experience was invaluable in many ways. I learned the advertising business well and I picked up how to make bows. Now, can you beat that? ;-) It has served me well. So when froufrou-ing up the tree this year I thought about it and decided to give you a tutorial on making bows the absolutely easiest way. I bought this large roll of sparkly silver ribbon just to show you. While this is 4" wide, it can be done with smaller width ribbon.
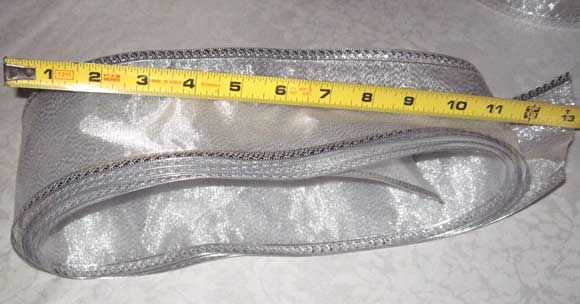
Make several loops of ribbon. I did about 8 here to show you. The more loops you make the "fluffier" the bow.
Make several loops of ribbon. I did about 8 here to show you. The more loops you make the "fluffier" the bow.

While I did 12" long loops they can certainly be smaller.
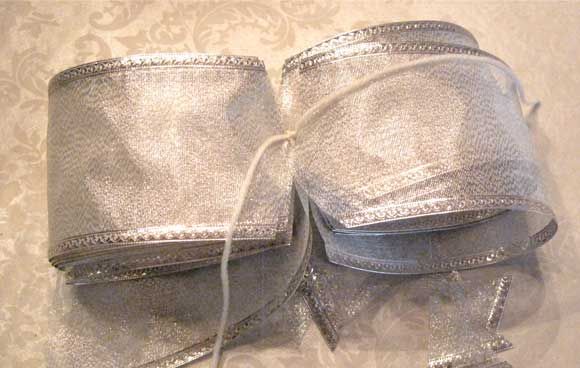
Now, you will cut a "V" in the middle on each side being very careful to not cut through; otherwise, you have loops of useless ribbon. (Hmmmm, but I'd figure out something to do with it, for sure, chicks!)

Now, with a piece of string or yarn, tie it tight.
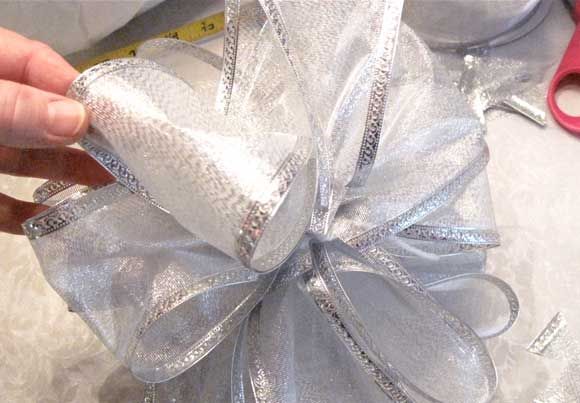
Then start separating the loops. One to the right, one to the left and so on until you've brought all of the loops towards you and twisted a bit to make them stay in place.
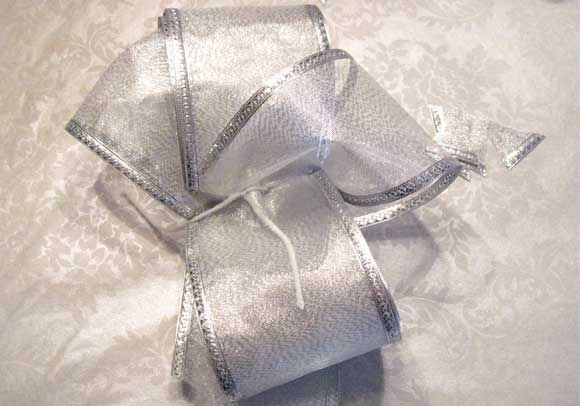
I do from right to left and front to back with each loop. You'll adjust better later. Now you are just separating the loops.
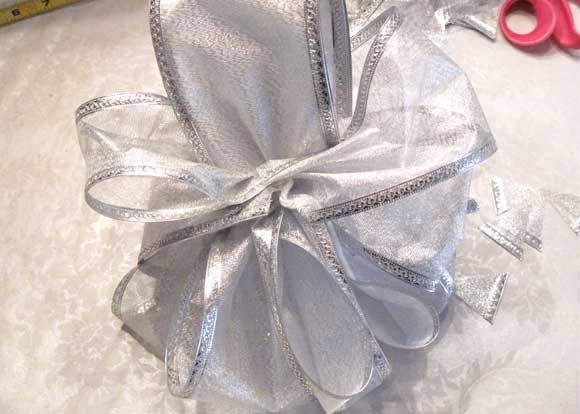
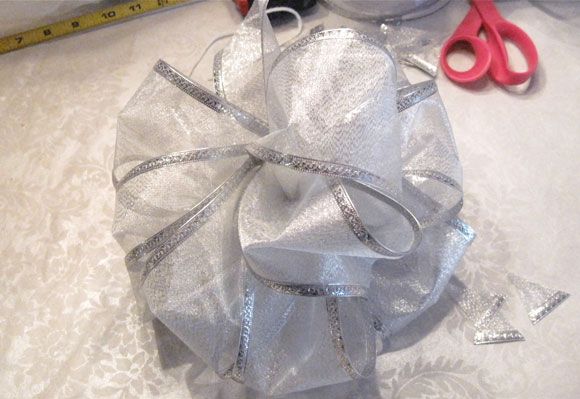
Now, just fluff and adjust and you'll have the best looking bow in your neighborhood.
The final bow. I used these on the tree. Using this kind of ribbon isn't the best but it'll do for decorating or any kind. I'd normally use an organza ribbon for this, but you can use any kind you want.
 ~*~
~*~